Parts List:
■ Daystar Universal Firewall Boot – KU20040BK – Amazon – Quadratec ($12.99)
■ Milwaukee 1-1/4” Hole Dozer Hole Saw – Home Depot ($13.97)
■ Existing Firewall Hole Plug (Manual Transmission Only)
I recently installed a Midland MXT400 GMRS radio in my TJ and needed to pass the power wiring through the firewall. I found a helpful article on Quadratech’s website about using a Daystar Universal Firewall Boot in an existing firewall hole. When I test fit the boot I wasn’t 100% happy with the fit – so I decided to add an additional step and use the existing firewall hole plug with the Daystar boot. It worked perfectly.
Please note that this method is specific to TJ’s with a manual transmission. If your TJ is automatic it will have the automatic transmission shifter cable running through the hole that I used.
1. Locate the Existing Firewall Hole and Remove the Plug
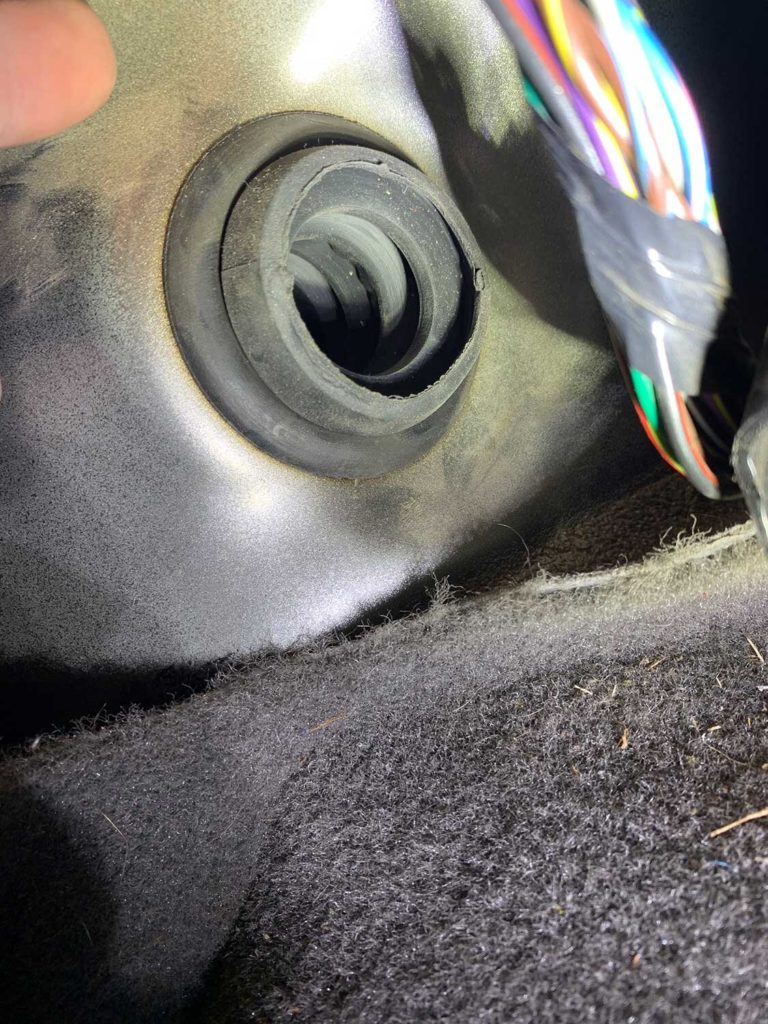
If you look under the front dashboard on the driver’s side you will see the existing hole up and to the right of the gas pedal. Use a rigid object or your finger to push the existing plug out. The hole exits the firewall down and to the right of the air intake manifold in the engine compartment.
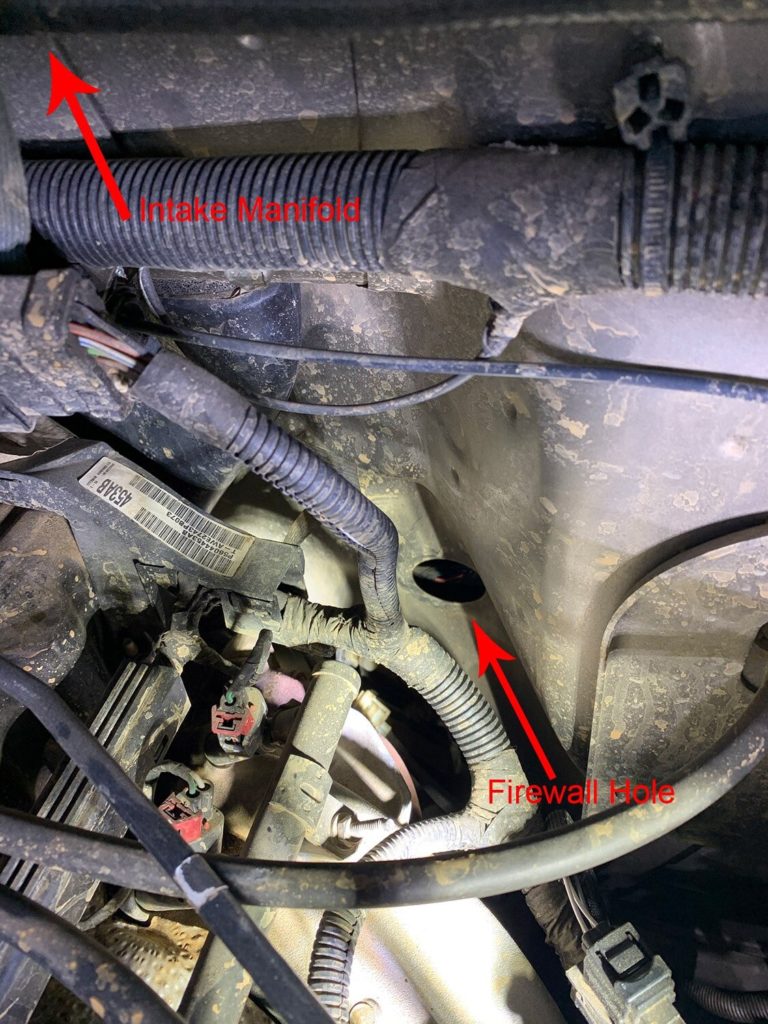
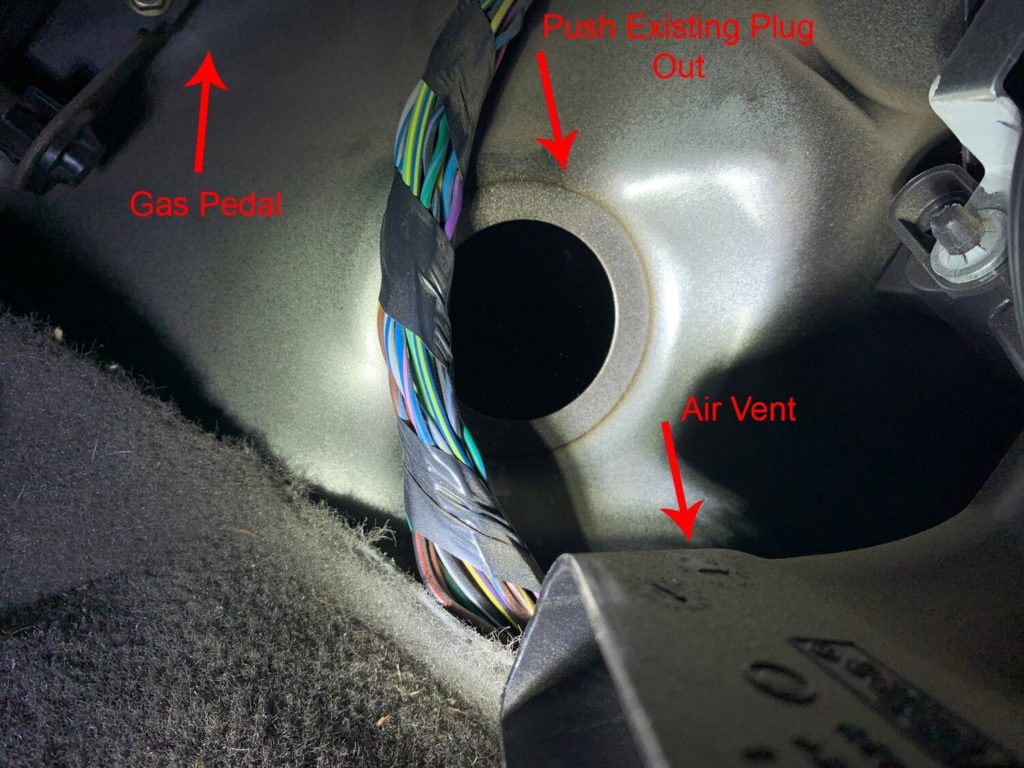
2. Drill a 1-1/4″ Hole in the Firewall Plug
Using the existing plug allows you to get a much tighter/snug fit than using just the Daystar boot. When I first test fit the Daystar boot in this hole it did not fight tightly and I was worried about it shaking loose easily.
I marked the center of the plug and used the pilot bit in the Milwaukee 1-1/4” hole saw to start the cut. Once the actual hole saw teeth reached the rubber I held onto the plug tightly and keep drilling the hole slowly until it cut all the way through. Watch the drill bit teeth if you do it this way as the torque of the drill can easily pull the plug out of your hand.
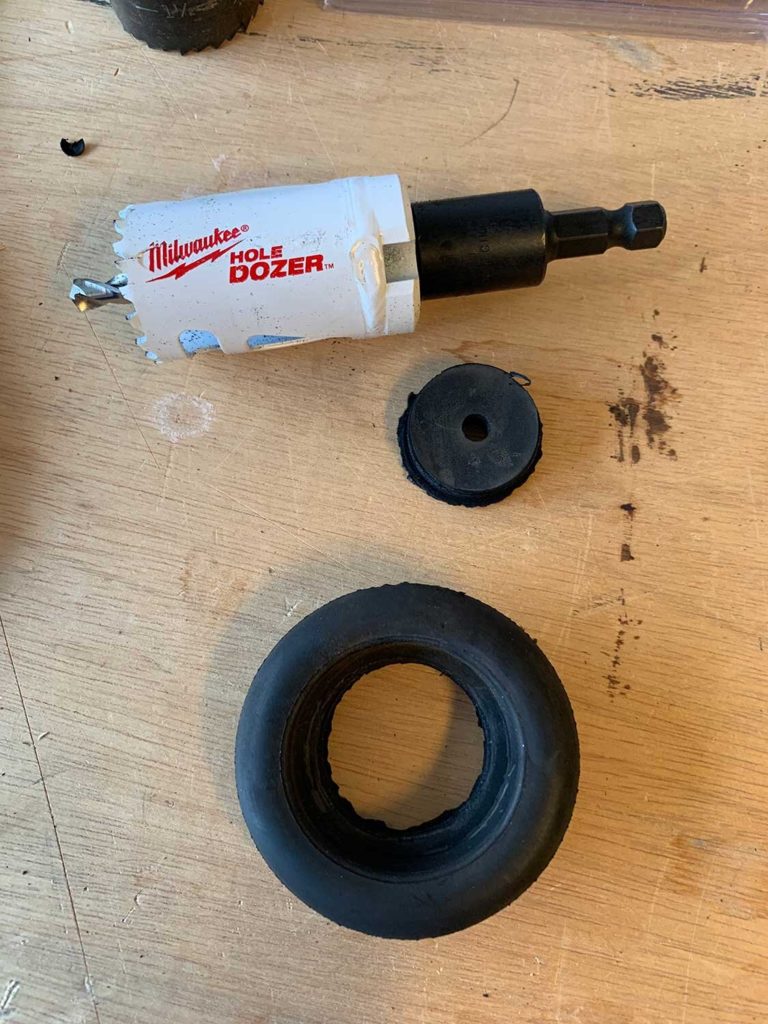
3. Pass the Daystar Boot Through the Plug
Once the hole is cut simply slide the Daystar boot through the hole in the plug.
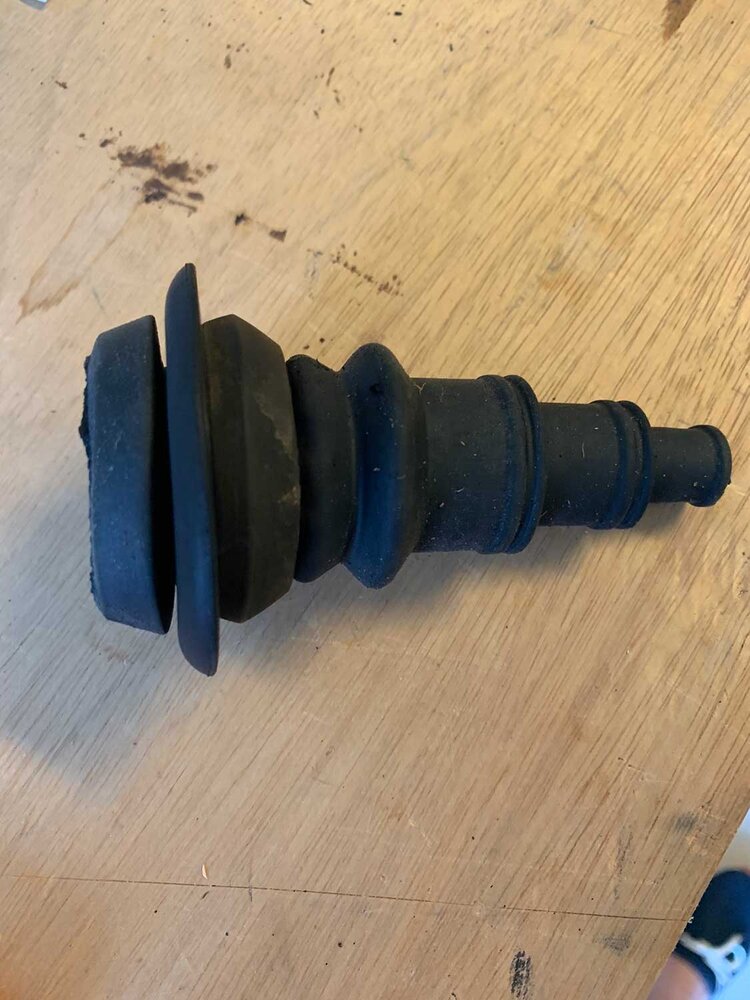
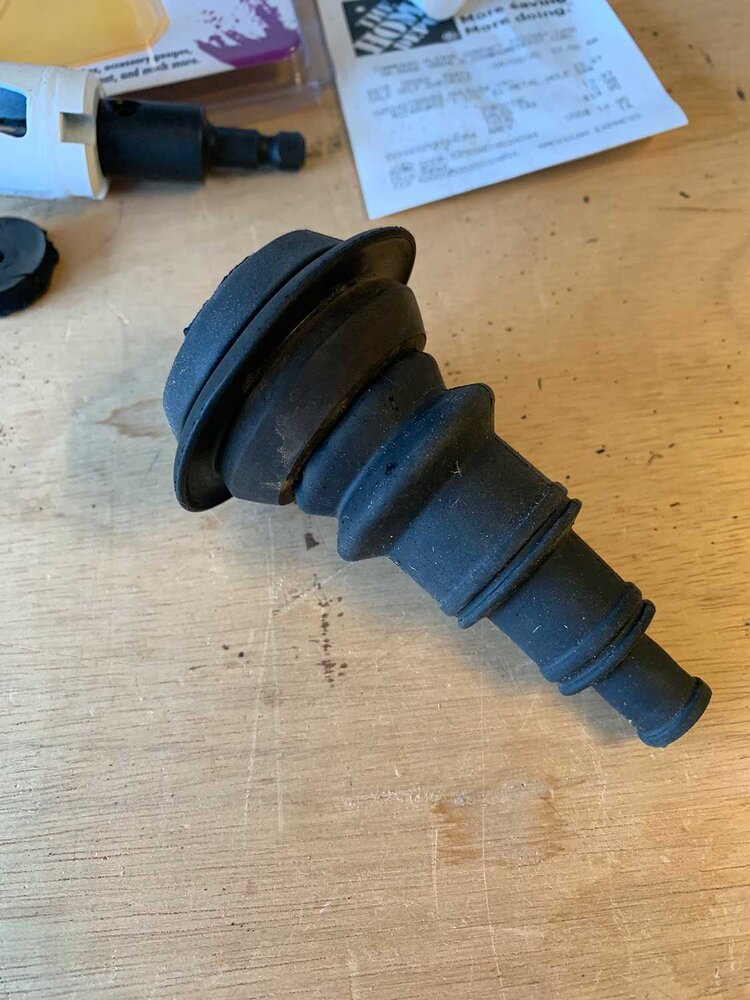
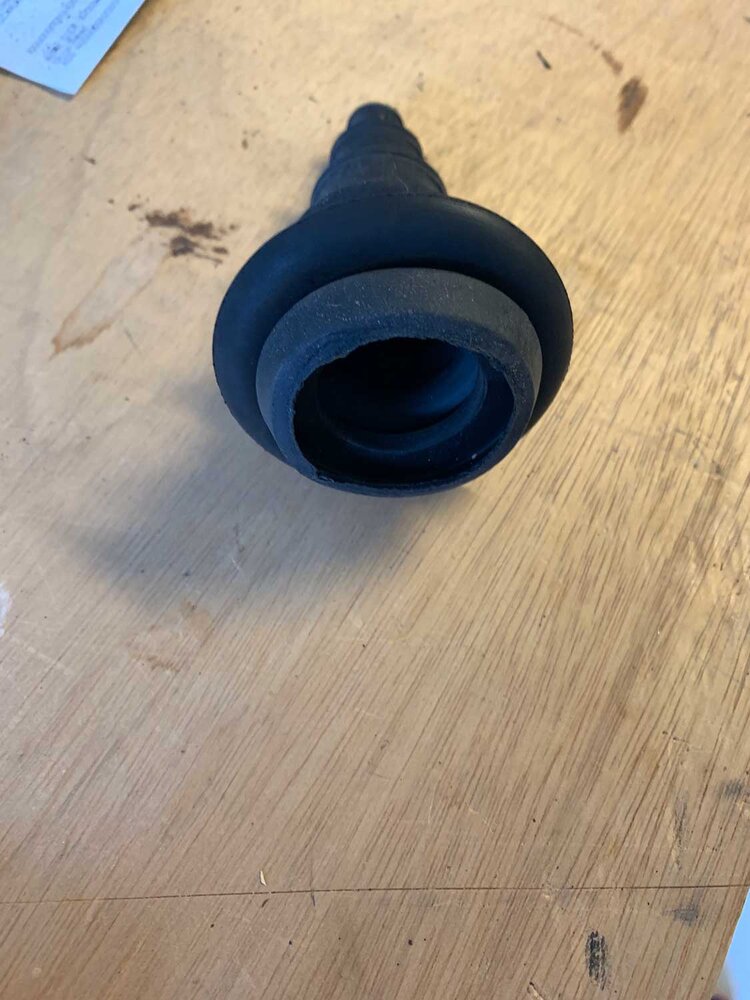
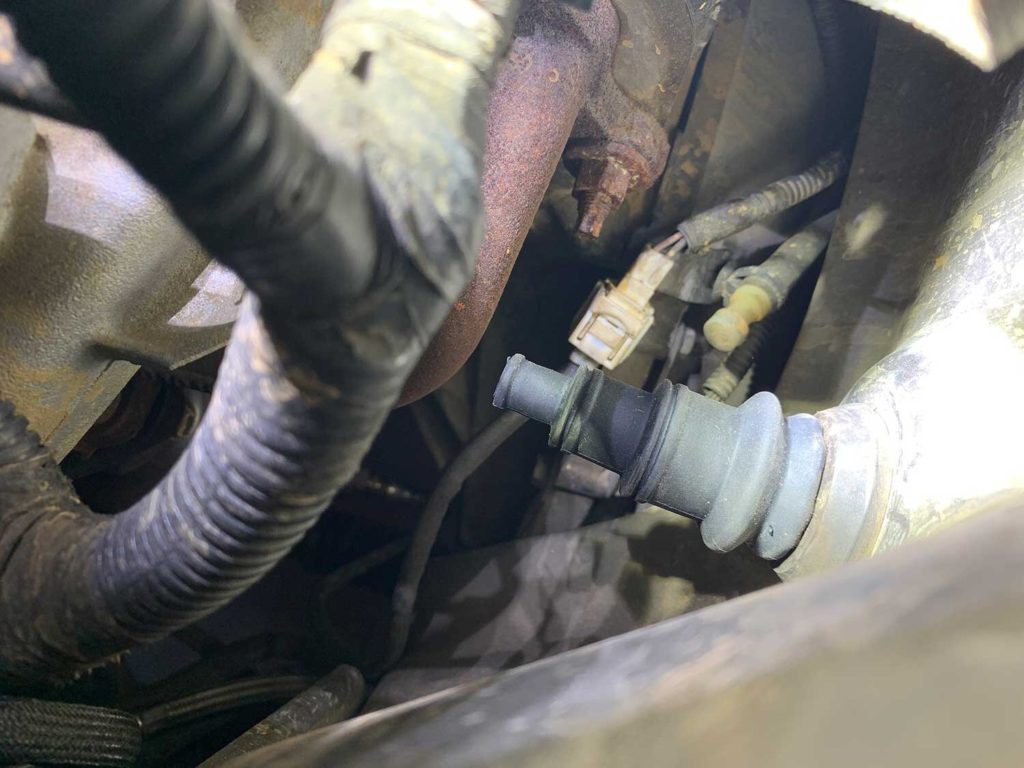
I saw the boot mounted two ways in various photos online. One way where the small (hole) end of the boot is facing into the engine compartment or where the small end is facing the interior of the cab. I chose to mount it with the small end of the boot facing the engine compartment as it seemed like the boot may collect water or rain if facing towards the interior of the cab.
4. Run Your Wiring Through the Boot
That is it – now you are ready to pass your wiring through the boot with a nice tight seal!
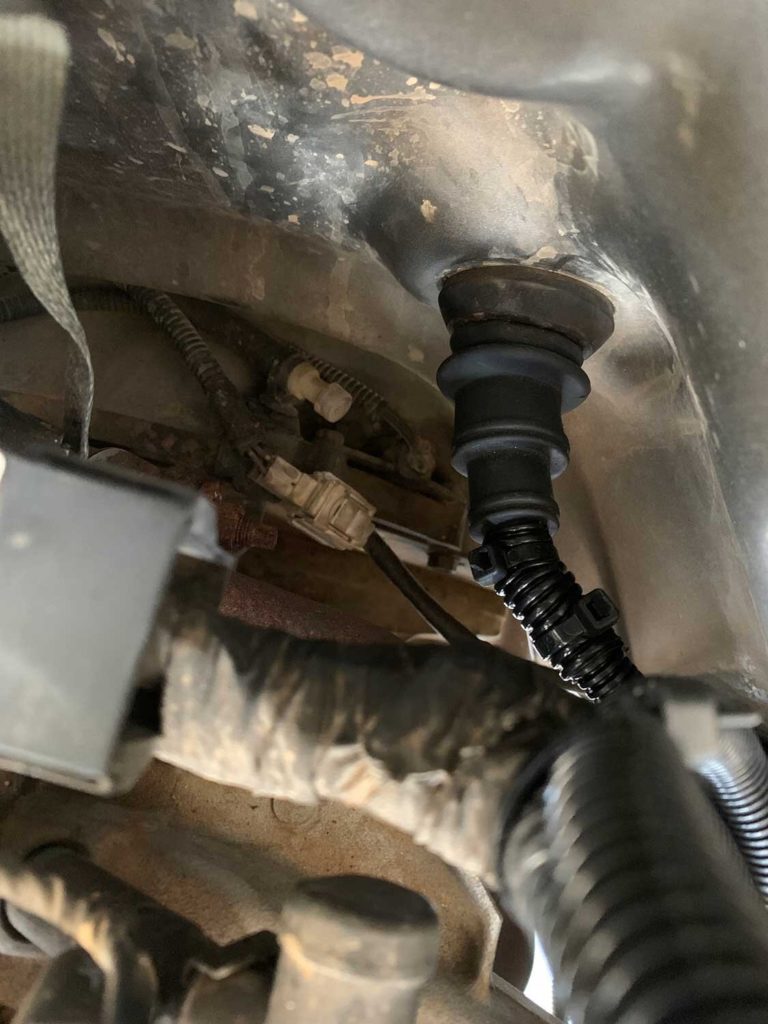
This is a photo of the power cable for my Midland GRMS radio going through the boot. I used 3/8” electric flex tubing to protect the power cable then cut a piece of 1/2” electrical flex tubing and wrapped it around the small end of the boot and secured it with a zip tie.

No Comments